Toonloop
After hearing enthusiastic reports of colleagues who saw a demonstration of Toonloop during the Libre Graphics Meeting, I was curious to find out more. I installed it, worked a bit with it, and I have to say: not often am I thrilled by new software for video on GNU-Linux, but this time: Ooh yes!
Toonloop could easily become my favorite tool for capturing images.
Toonloop is a simple software very suitable for media projects with children. The great thing is that it does not try to do too much at the same time: the software has a very clear focus on capturing live images (still frames, timelapse and continuous video), and consequently there are many things you can not do with this tool. But what it does do, it does very well.

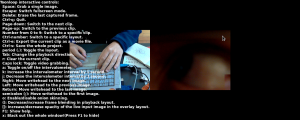
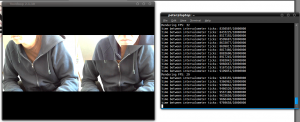
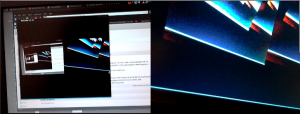
The interface shows two windows: left you see the live input from your camera, right the animation in progress. You can switch to different lay out modes, showing only one of the two windows. Controls works completely with keyboard commands, which is handy because you can use it full screen without the need of a second screen for your controls. The commands are limited in quantity and they are very easy to learn. But in case you forgot a key command, pushing F1 puts them on screen. Great, because it allows you to learn while you work.
Check the website for complete info on functionalities and how-to’s: www.toonloop.com
Some remarks:
* Installing and using it on my ancient HP g3000 laptop, Ubuntu 10.04, is great, I had no problems at all.
* Running it on my Asus Eee PC 900 is even better, it stays very flexible, doesn’t create monster video-files so very suitable for live video on a tiny machine. It outputs jpeg images which can be saved as a film by exporting them as mjpeg video: (push ctrl-e.)
The only problem I had on the Asus is that the computer has a built in web cam that does not seem to be recognised. A simple work-around: plug in an external webcam (I have: Logitech c310, 720p) and then start Toonloop from the terminal with the -d option.
This allows you to specify another video device then the standard /dev/video0 which is used by the built in webcam.
$ toonloop -d /dev/video1 activates the usb camera.

An advantage of starting from the terminal is that it can give you feedback on the program. Use -V (verbose)
$ toonloop -V
By looking at the info in the terminal toggling between video on/off and interval on/of is easier to work with.
You can increase the intervalometer with +1 second with the k key, or decrease it by -1 second using the j key. However I didn’t find a way to see the actual frame capture frequency.
* The website clearly recommands using Toonloop on Ubuntu, and indeed when we tried it on a Debian machine, we couldn’t get version 2.1.10 installed. The .deb of version 1.2.7 worked, however it has a lot less functionality (no on screen info, no video grabbing etc.)
On my wish-list: toggling between different camera’s. It would be great to be able to use multiple camera’s, especially while using a gamepad.

Recent Comments